
Socket System
A socket item is a piece of equipment with empty slots in it. On its own it is no better than a normal item — the power comes from what you put into those slots. You fill them with Seed Spheres, and each sphere adds an option to the item.
The appeal is that you choose the direction. An excellent item gives you whatever options it dropped with; a socket item lets you build attack, defence, survivability or critical damage on purpose — and because you get your spheres back when you take them out, you can keep changing your mind.
Where it all happens: the Seed Master
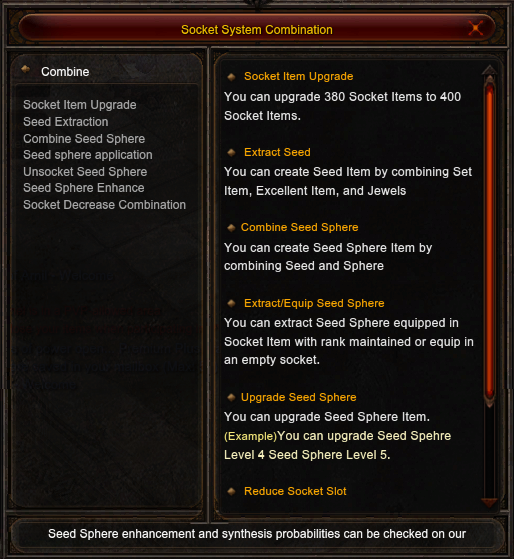
Every part of the socket system runs through one NPC, the Seed Master — not the Chaos Goblin Machine. Talk to him and you get the Socket System Combination window.
Elbeland: (46, 243)

His window has seven tabs, one per operation. Everything below is one of these:
| Action | Cost | Chance |
|---|---|---|
| Mount a Seed Sphere | 1,000,000 Zen | — |
| Remove a Seed Sphere | 1,000,000 Zen | 100% success |
| Extract a Seed | 1,000,000 Zen | — |
| Combine Seed + Sphere | 1,000,000 Zen | — |
The three things you need
Three different items are involved, and they are easy to confuse because they sound alike:
- A Seed carries the element — Fire, Water, Ice, Wind, Lightning or Earth. The element decides which options you can get.
- A Sphere carries the level. The higher the level, the stronger the option.
- Combine the two and you get a Seed Sphere — the finished item you actually mount into a socket.
Making a Seed
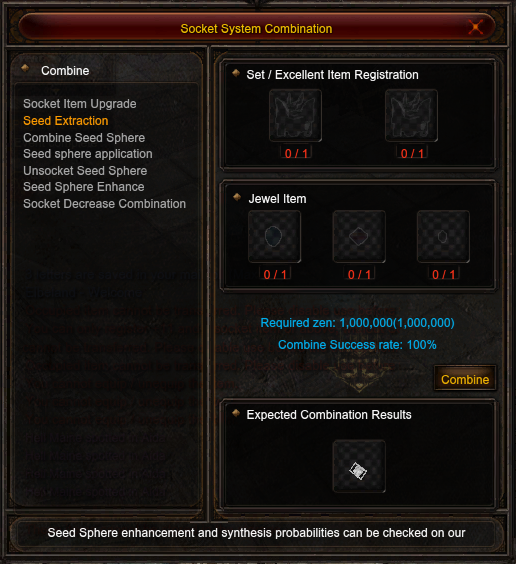
Under Seed Extraction you turn gear you no longer need into a Seed: register two Set or Excellent items, add three jewels, and pay the fee.
Making a Seed Sphere
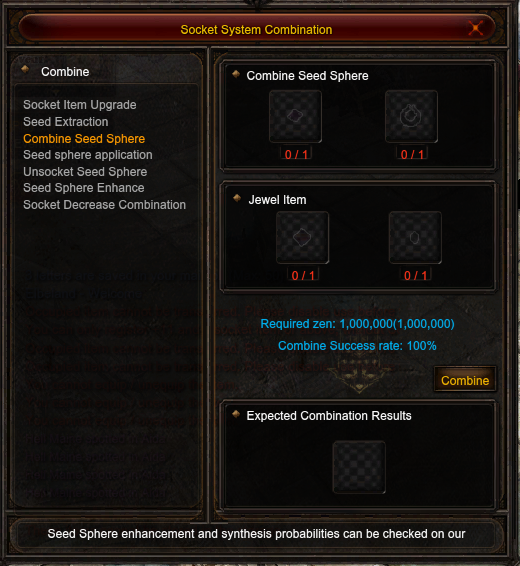
Combine Seed Sphere merges a Seed and a Sphere into the finished article, with two jewels as the binding material.
Where Seeds and Spheres come from
You do not have to craft everything — Seeds, Spheres and even finished Seed Spheres drop in the world. This shows you exactly which monsters and boxes give them on our server:
How to build a socket item
Get an item with sockets
Socket items drop in the higher-level maps. The number of slots is decided when the item is created — but you can add one more later with a jewel, and you can carry a 380 item over to its 400 version, both covered below.
Collect Seed Spheres
Gather the elements that match what you want the item to do. Check the element tables further down before you spend anything — some options only exist on one element.
Mount them
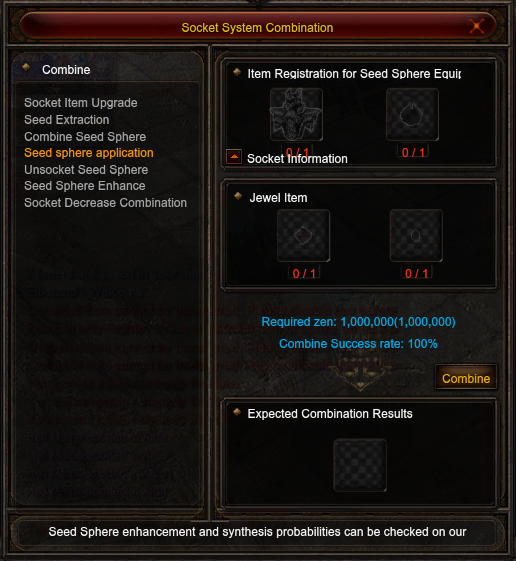
Use Seed sphere application: register the socket item and the sphere, add two jewels, and the sphere goes into an empty socket.
Change your mind freely
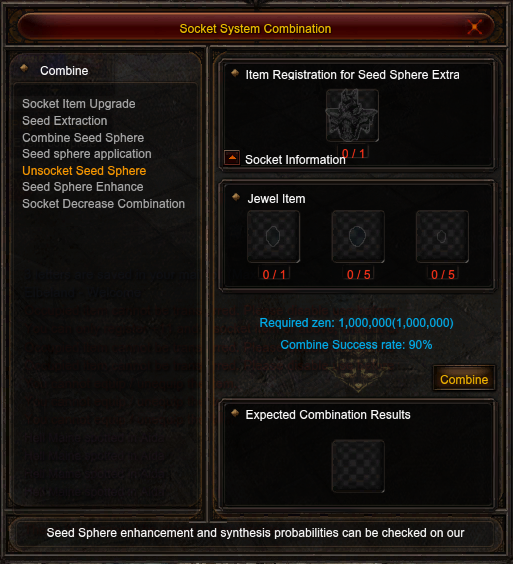
Unsocket Seed Sphere takes a sphere back out. You keep the sphere, it keeps its level, and the item is left with an empty socket ready for something else.
Adding a socket to an item
An item does not have to stay with the sockets it was born with. The Jewel of Wisdom opens one extra slot:
 Jewel of Wisdom
Socket Item Upgrade: 380 → 400
Once you outgrow your level-380 gear you do not have to throw it away. The Socket Item Upgrade tab converts a 380 socket item into its level-400 Mastery counterpart — a Hades Armor becomes a Dark Devil Armor, an Inberial Staff becomes a Miracle Staff, and so on.
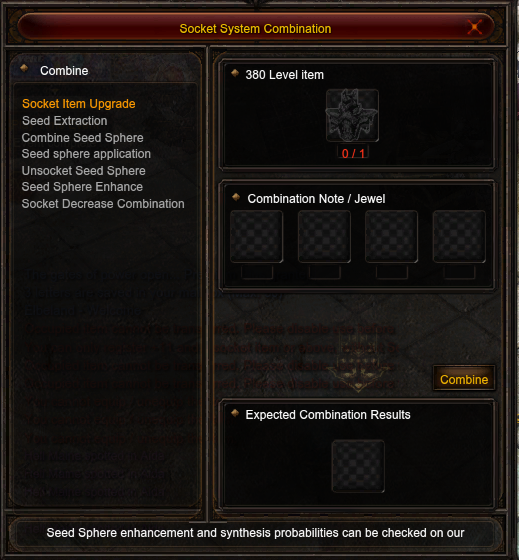
 Socket Upgrade Note Ruud Shop: 5,0005×
  Jewel of Bless5×
  Jewel of Soul1×
  Jewel of Chaos
- It keeps the same number of sockets as the item you put in.
- The Seed Spheres are not carried over — that is why the sockets have to be empty before you start.
- The new item comes out at +0, so the +11–+15 you put in is gone. Enchant it again afterwards.
- It comes without Skill and without Luck.
Every upgrade path (118)
| Level 380 socket item | Level 400 socket item | |
|---|---|---|
 Inberial Staff Inberial Staff | 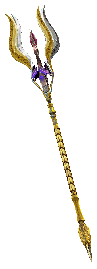 Miracle Staff Miracle Staff | |
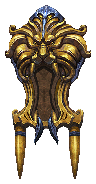
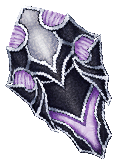 Guardian Shield Guardian Shield |  Dark Devil Shield Dark Devil Shield | |
 Hades Helm Hades Helm | 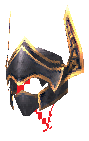 Dark Devil Helm Dark Devil Helm | |
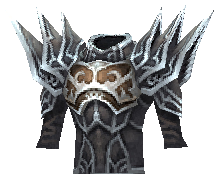 Hades Armor Hades Armor | 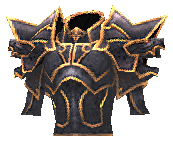 Dark Devil Armor Dark Devil Armor | |
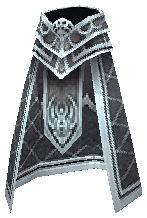 Hades Pants Hades Pants | 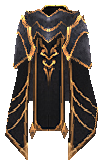 Dark Devil Pants Dark Devil Pants | |
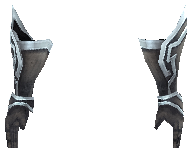 Hades Gloves Hades Gloves | 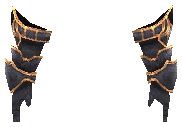 Dark Devil Gloves Dark Devil Gloves | |
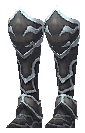 Hades Boots Hades Boots | 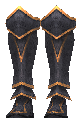 Dark Devil Boots Dark Devil Boots | |
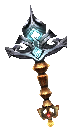 Flameberge Flameberge | 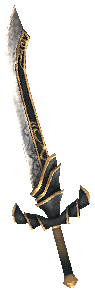 Cyclone Sword Cyclone Sword | |
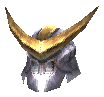 Titan Helm Titan Helm | 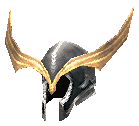 Stormwing Helm Stormwing Helm | |
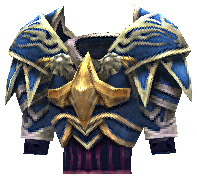 Titan Armor Titan Armor | 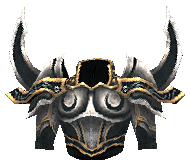 Stormwing Armor Stormwing Armor | |
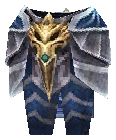 Titan Pants Titan Pants | 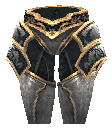 Stormwing Pants Stormwing Pants | |
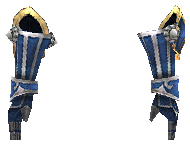 Titan Gloves Titan Gloves | 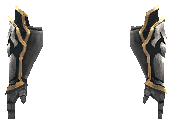 Stormwing Gloves Stormwing Gloves | |
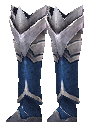 Titan Boots Titan Boots | 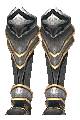 Stormwing Boots Stormwing Boots | |
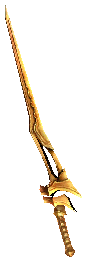 Sword Breaker Sword Breaker | Sonic Blade | |
 Brave Helm Brave Helm | Lazy Wind Helm | |
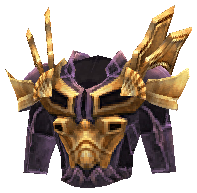 Brave Armor Brave Armor | Lazy Wind Armor | |
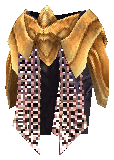 Brave Pants Brave Pants | Lazy Wind Pants | |
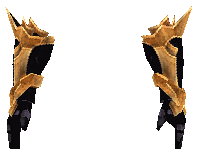 Brave Gloves Brave Gloves | Lazy Wind Gloves | |
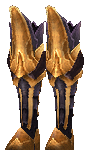 Brave Boots Brave Boots | Lazy Wind Boots | |
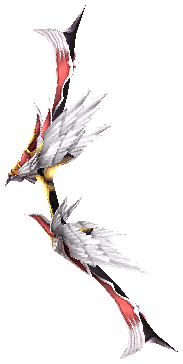 Dark Stinger Dark Stinger | 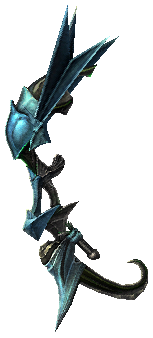 Angelic Bow Angelic Bow | |
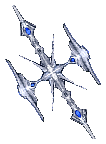 Frost Barrier Frost Barrier |  Light Lord Shield Light Lord Shield | |
 Seraphim Helm Seraphim Helm |  Sticky Helm Sticky Helm | |
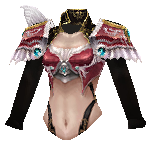 Seraphim Armor Seraphim Armor | 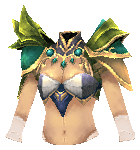 Sticky Armor Sticky Armor | |
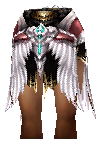 Seraphim Pants Seraphim Pants | 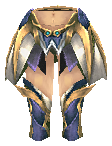 Sticky Pants Sticky Pants | |
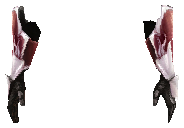 Seraphim Gloves Seraphim Gloves | 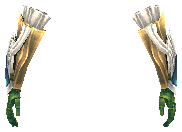 Sticky Gloves Sticky Gloves | |
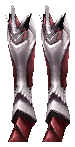 Seraphim Boots Seraphim Boots | 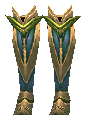 Sticky Boots Sticky Boots | |
 Divine Helm Divine Helm | Light Lord Helmet | |
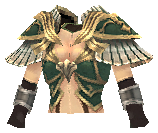 Divine Armor Divine Armor | Light Lord Armor | |
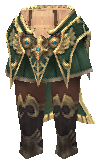 Divine Pants Divine Pants | Light Lord Pants | |
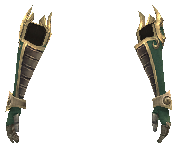 Divine Gloves Divine Gloves | Light Lord Gloves | |
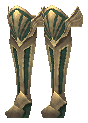 Divine Boots Divine Boots | Light Lord Boots | |
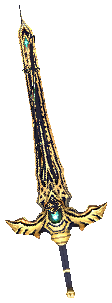 Rune Bastard Sword Rune Bastard Sword | 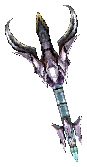 Asura Asura | |
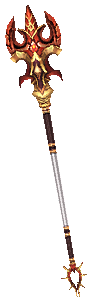 Deadly Staff Deadly Staff | Miracle Staff | |
 Salamander Shield Salamander Shield | 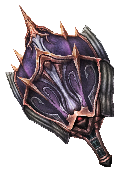 Magic Knight Shield Magic Knight Shield | |
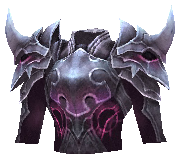 Phantom Armor Phantom Armor | 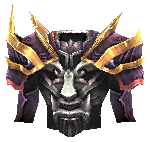 Hell Night Armor Hell Night Armor | |
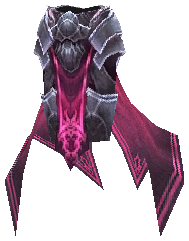 Phantom Pants Phantom Pants | 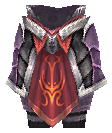 Hell Night Pants Hell Night Pants | |
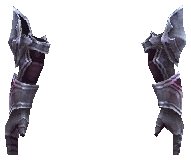 Phantom Gloves Phantom Gloves | 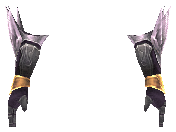 Hell Night Gloves Hell Night Gloves | |
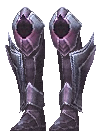 Phantom Boots Phantom Boots | 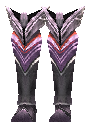 Hell Night Boots Hell Night Boots | |
| Deadly Staff | Miracle Staff | |
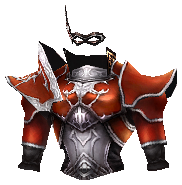 Destroy Armor Destroy Armor | Magic Knight Armor | |
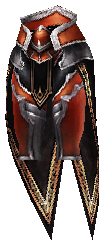 Destroy Pants Destroy Pants | Magic Knight Pants | |
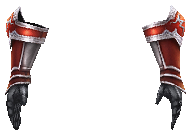 Destroy Gloves Destroy Gloves | Magic Knight Gloves | |
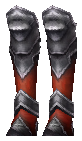 Destroy Boots Destroy Boots | Magic Knight Boots | |
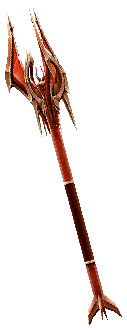 Absolute Scepter Absolute Scepter | 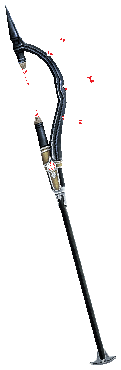 Thunderbolt Thunderbolt | |
 Royal Mask Royal Mask | 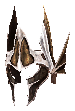 Ambition Mask Ambition Mask | |
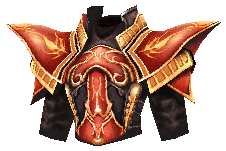 Royal Armor Royal Armor | 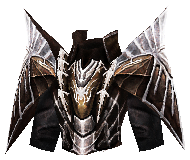 Ambition Armor Ambition Armor | |
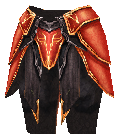 Royal Pants Royal Pants | 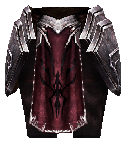 Ambition Pants Ambition Pants | |
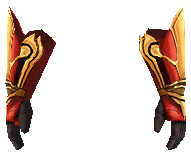 Royal Gloves Royal Gloves | 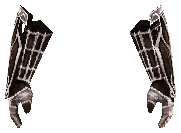 Ambition Gloves Ambition Gloves | |
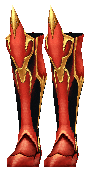 Royal Boots Royal Boots | 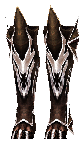 Ambition Boots Ambition Boots | |
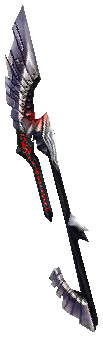 Eternal Wing Stick Eternal Wing Stick | 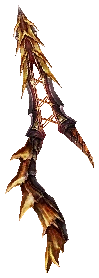 Summon Spirit Stick Summon Spirit Stick | |
 Eternal Wing Helm Eternal Wing Helm |  Succubus Helm Succubus Helm | |
 Eternal Wing Armor Eternal Wing Armor | 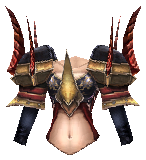 Succubus Armor Succubus Armor | |
 Eternal Wing Pants Eternal Wing Pants | 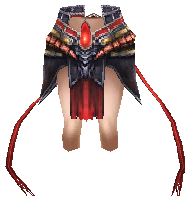 Succubus Pants Succubus Pants | |
 Eternal Wing Gloves Eternal Wing Gloves | 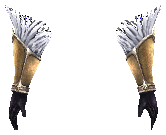 Succubus Gloves Succubus Gloves | |
 Eternal Wing Boots Eternal Wing Boots | 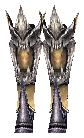 Succubus Boots Succubus Boots | |
 Pantera Claws Pantera Claws |  Devast Claws Devast Claws | |
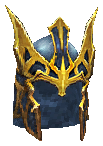 Tigris Helm Tigris Helm | 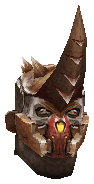 Crimson Skull Helm Crimson Skull Helm | |
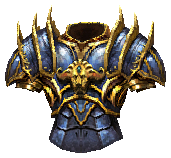 Tigris Armor Tigris Armor | 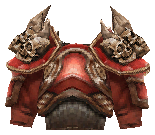 Crimson Skull Armor Crimson Skull Armor | |
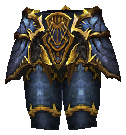 Tigris Pants Tigris Pants | 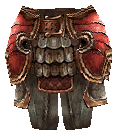 Crimson Skull Pants Crimson Skull Pants | |
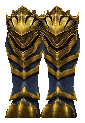 Tigris Boots Tigris Boots | 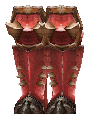 Crimson Skull Boots Crimson Skull Boots | |
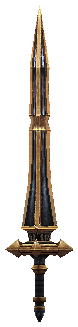 Rectuus Lance Rectuus Lance | 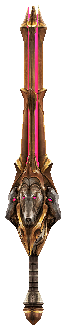 Russell Light Lance Russell Light Lance | |
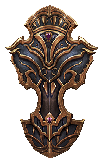 Grace Shield Grace Shield | 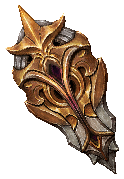 Constant Shield Constant Shield | |
 Grace Helm Grace Helm | 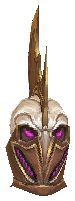 Constant Helm Constant Helm | |
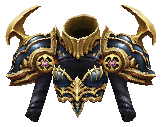 Grace Armor Grace Armor | 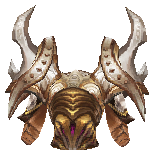 Constant Armor Constant Armor | |
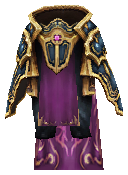 Grace Pants Grace Pants | 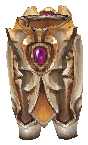 Constant Pants Constant Pants | |
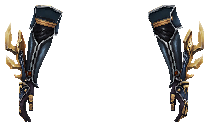 Grace Gloves Grace Gloves | 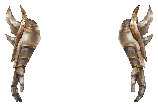 Constant Gloves Constant Gloves | |
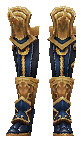 Grace Boots Grace Boots | 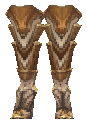 Constant Boots Constant Boots | |
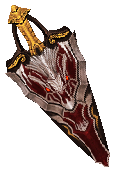 Crimson Glory Crimson Glory | 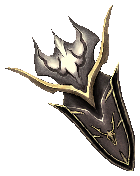 Lazy Wind Shield Lazy Wind Shield | |
 Frost Rune Mace Frost Rune Mace | 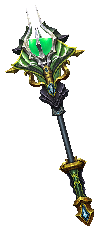 Light Road Runic Mace Light Road Runic Mace | |
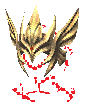 Rune Divine Helmet Rune Divine Helmet | 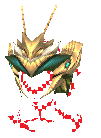 Rune Light Helmet Rune Light Helmet | |
| Rune Devine Armor |  Rune Light Armor Rune Light Armor | |
| Rune Divine Pants | 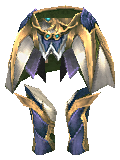 Rune Light Pants Rune Light Pants | |
| Rune Divine Gloves | Rune Light Gloves | |
| Rune Divine Boots | Rune Light Boots | |
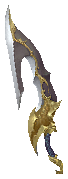 Paring Short Sword Paring Short Sword | 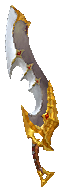 Novakura Short Sword Novakura Short Sword | |
 Fidelity Helm Fidelity Helm | 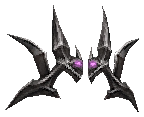 Trace Helm Trace Helm | |
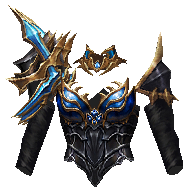 Fidelity Armor Fidelity Armor | 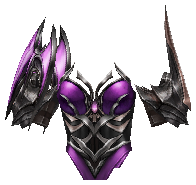 Trace Armor Trace Armor | |
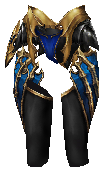 Fidelity Pants Fidelity Pants | 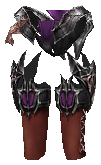 Trace Pants Trace Pants | |
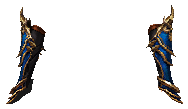 Fidelity Gloves Fidelity Gloves | 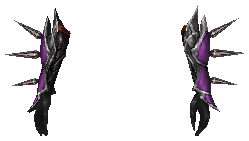 Trace Gloves Trace Gloves | |
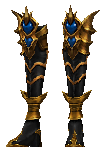 Fidelity Boots Fidelity Boots | 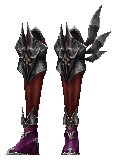 Trace Boots Trace Boots | |
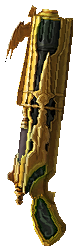 Weiwen Magic Gun Weiwen Magic Gun | 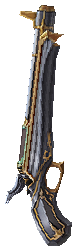 Cannon Magic Gun Cannon Magic Gun | |
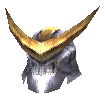 Titan Gunner Helmet Titan Gunner Helmet | 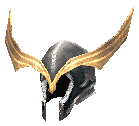 Stormwinger Helmet Stormwinger Helmet | |
| Titan Gunner Armor | 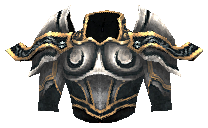 Stormwinger Armor Stormwinger Armor | |
| Titan Gunner Pants | Stormwinger Pants | |
| Titan Gunner Gloves | Stormwinger Gloves | |
| Titan Gunner Boots | Stormwinger Boots | |
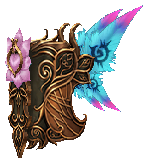 Wise Magic Book Wise Magic Book | 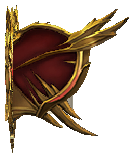 Legendary Magic Book Legendary Magic Book | |
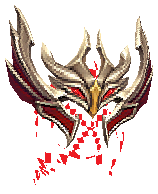 Bright Helmet Bright Helmet | 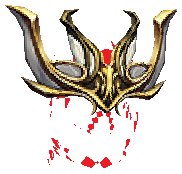 Darjeeling Helmet Darjeeling Helmet | |
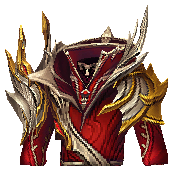 Bright Armor Bright Armor | 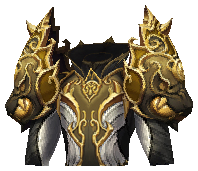 Darjeeling Armor Darjeeling Armor | |
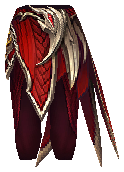 Bright Pants Bright Pants | 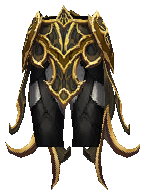 Darjeeling Pants Darjeeling Pants | |
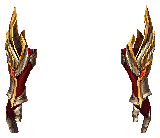 Bright Gloves Bright Gloves | 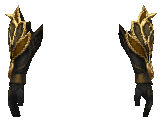 Darjeeling Gloves Darjeeling Gloves | |
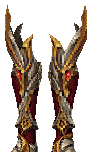 Bright Boots Bright Boots | 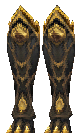 Darjeeling Boots Darjeeling Boots | |
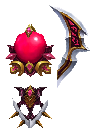 Spinel Orb Spinel Orb | 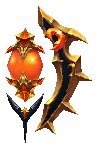 Almandin Orb Almandin Orb | |
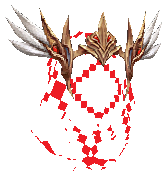 Finesse Helmet Finesse Helmet | 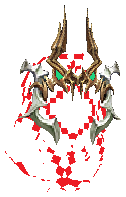 Geist Helmet Geist Helmet | |
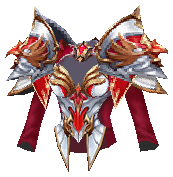 Finesse Armor Finesse Armor | 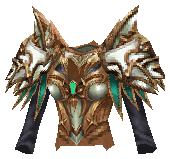 Geist Armor Geist Armor | |
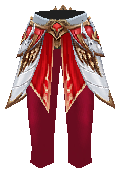 Finesse Pants Finesse Pants | 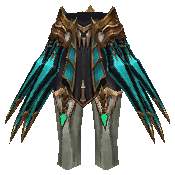 Geist Pants Geist Pants | |
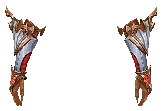 Finesse Gloves Finesse Gloves | 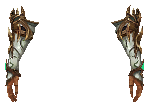 Geist Gloves Geist Gloves | |
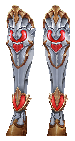 Finesse Boots Finesse Boots | 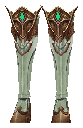 Geist Boots Geist Boots | |
 Dragon Blade Dragon Blade | 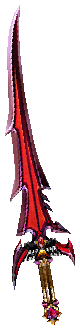 Blood Blade Blood Blade | |
 Primal Helmet Primal Helmet |  Apex Helmet Apex Helmet | |
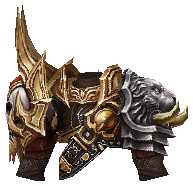 Primal Armor Primal Armor | 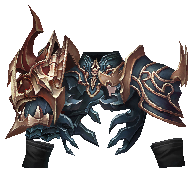 Apex Armor Apex Armor | |
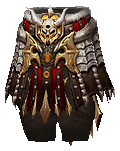 Primal Pants Primal Pants | 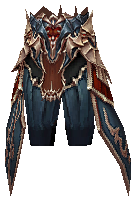 Apex Pants Apex Pants | |
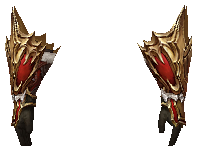 Primal Gloves Primal Gloves | 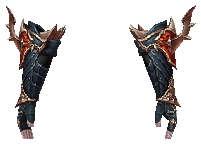 Apex Gloves Apex Gloves | |
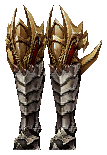 Primal Boots Primal Boots | 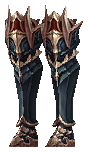 Apex Boots Apex Boots | |
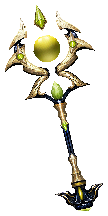 Amber Wand Amber Wand | 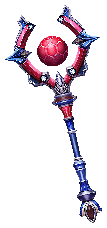 Morganite Wand Morganite Wand | |
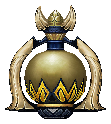 Amber Elixir Amber Elixir |  Morganite Elixir Morganite Elixir | |
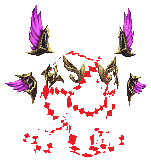 Integrity Helmet Integrity Helmet | 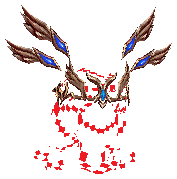 Justice Helmet Justice Helmet | |
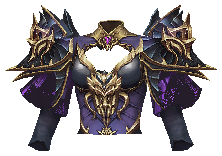 Integrity Armor Integrity Armor | 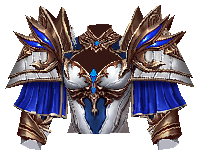 Justice Armor Justice Armor | |
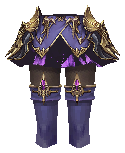 Integrity Pants Integrity Pants | 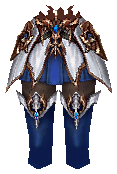 Justice Pants Justice Pants | |
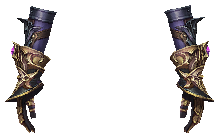 Integrity Gloves Integrity Gloves | 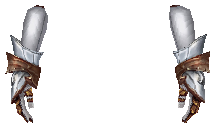 Justice Gloves Justice Gloves | |
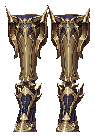 Integrity Boots Integrity Boots | 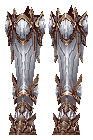 Justice Boots Justice Boots | |
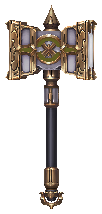 Blast Hammer Blast Hammer | 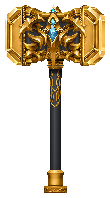 Belief Hammer Belief Hammer | |
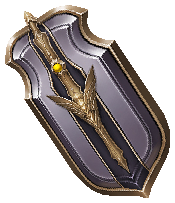 Blast Shield Blast Shield | 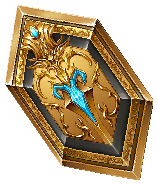 Belief Shield Belief Shield | |
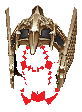 Trust Helm Trust Helm |  Saint Helm Saint Helm | |
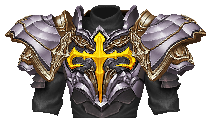 Trust Armor Trust Armor | 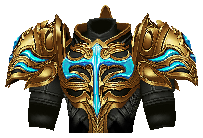 Saint Armor Saint Armor | |
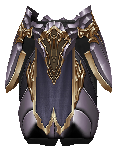 Trust Pants Trust Pants | 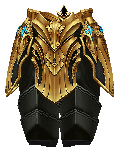 Saint Pants Saint Pants | |
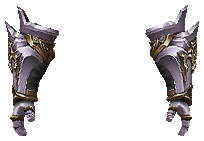 Trust Gloves Trust Gloves | 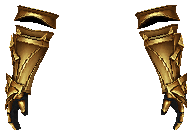 Saint Gloves Saint Gloves | |
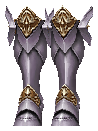 Trust Boots Trust Boots | 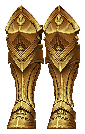 Saint Boots Saint Boots |
How many sockets you can get
Socket items that drop in the world roll their slot count by item type. These are the chances:
| Item type | 1 socket | 2 sockets | 3 sockets | 4 sockets | 5 sockets |
|---|---|---|---|---|---|
| Swords | 60% | 40% | 30% | 15% | 7.5% |
| Axes | 60% | 40% | 30% | 15% | 7.5% |
| Maces | 60% | 40% | 30% | 15% | 7.5% |
| Spears | 40% | 20% | 15% | 3% | 1.5% |
| Bows & Crossbows | 60% | 40% | 30% | 15% | 7.5% |
| Staffs | 60% | 40% | 30% | 15% | 7.5% |
| Shields | 60% | 40% | 30% | 15% | 7.5% |
| Helmets | 60% | 40% | 30% | 15% | 7.5% |
| Armors | 60% | 40% | 30% | 15% | 7.5% |
| Pants | 60% | 40% | 30% | 15% | 7.5% |
| Gloves | 60% | 40% | 30% | 15% | 7.5% |
| Boots | 60% | 40% | 30% | 15% | 7.5% |
| Necklaces | 75% | 20% | 5% | — | — |
| Two-handed weapons | 60% | 40% | 30% | 15% | 7.5% |
The six elements and what they give
This is the heart of the system. Each element has its own pool of options; when you mount a sphere you get one option from that pool at random. The chance column tells you how likely each one is, and the numbers show what you get at each sphere level.
 Seed Sphere (Fire) [Step: 1]
| Option | Chance | Value by level | ||||
|---|---|---|---|---|---|---|
| 1 | 2 | 3 | 4 | 5 | ||
| Increases DMG and Wizardry DMG for every 20 levels. | 17.6% | +11 | +12 | +13 | +14 | +15 |
| Attack speed increase | 11.8% | +7 | +8 | +9 | +10 | +11 |
| Maximum attack/Wizardry increase | 17.6% | +30 | +32 | +35 | +40 | +45 |
| Minimum attack/Wizardry increase | 23.5% | +20 | +22 | +25 | +30 | +35 |
| Attack/Wizardry increase | 11.8% | +20 | +22 | +25 | +30 | +35 |
| AG cost decrease | 17.6% | +40% | +41% | +42% | +43% | +44% |
Seed Sphere (Water) [Step: 1]| Option | Chance | Value by level | ||||
|---|---|---|---|---|---|---|
| 1 | 2 | 3 | 4 | 5 | ||
| Block rating increase | 6.7% | +10% | +11% | +12% | +13% | +14% |
| Defense increase | 20% | +30 | +33 | +36 | +39 | +41 |
| Shield protection increase | 33.3% | +100% | +150% | +250% | +300% | +350% |
| Damage reduction | 13.3% | +4% | +5% | +6% | +7% | +8% |
| Damage reflection | 26.7% | +5% | +6% | +7% | +8% | +9% |
Seed Sphere (Ice) [Step: 1]| Option | Chance | Value by level | ||||
|---|---|---|---|---|---|---|
| 1 | 2 | 3 | 4 | 5 | ||
| Monster destruction for the Life increase | 21.4% | +250 | +280 | +310 | +340 | +372 |
| Monster destruction for the Mana increase | 14.3% | +400 | +450 | +500 | +550 | +601 |
| Skill attack increase | 7.1% | +37 | +40 | +45 | +50 | +57 |
| Attack rating increase | 35.7% | +25 | +27 | +30 | +35 | +42 |
| Item durability increase | 21.4% | +30% | +32% | +34% | +36% | +40% |
Seed Sphere (Wind) [Step: 1]| Option | Chance | Value by level | ||||
|---|---|---|---|---|---|---|
| 1 | 2 | 3 | 4 | 5 | ||
| Automatic Life recovery increase | 16% | +8 | +10 | +13 | +16 | +21 |
| Maximum Life increase | 12% | +100 | +115 | +130 | +145 | +165 |
| Maximum Mana increase | 16% | +150 | +165 | +180 | +195 | +215 |
| Automatic Mana recovery increase | 20% | +7 | +14 | +21 | +28 | +37 |
| Maximum AG increase | 16% | +70 | +82 | +95 | +110 | +126 |
| AG value increase | 20% | +5 | +7 | +9 | +11 | +13 |
Seed Sphere (Lightning) [Step: 1]| Option | Chance | Value by level | ||||
|---|---|---|---|---|---|---|
| 1 | 2 | 3 | 4 | 5 | ||
| Excellent damage increase | 28.6% | +15 | +20 | +25 | +30 | +36 |
| Excellent damage rate increase | 14.3% | +10% | +11% | +12% | +13% | +14% |
| Critical damage increase | 42.9% | +30 | +32 | +35 | +40 | +47 |
| Critical damage rate increase | 14.3% | +8% | +9% | +10% | +11% | +12% |
Seed Sphere (Earth) [Step: 1]| Option | Chance | Value by level | ||||
|---|---|---|---|---|---|---|
| 1 | 2 | 3 | 4 | 5 | ||
| Strength increase | 25% | +6 | +8 | +9 | +10 | +11 |
| Agility increase | 25% | +1 | +2 | +3 | +4 | +5 |
| Health increase | 25% | +30 | +32 | +34 | +36 | +38 |
| Energy increase | 25% | +10 | +12 | +13 | +15 | +17 |
Upgrading your Seed Spheres
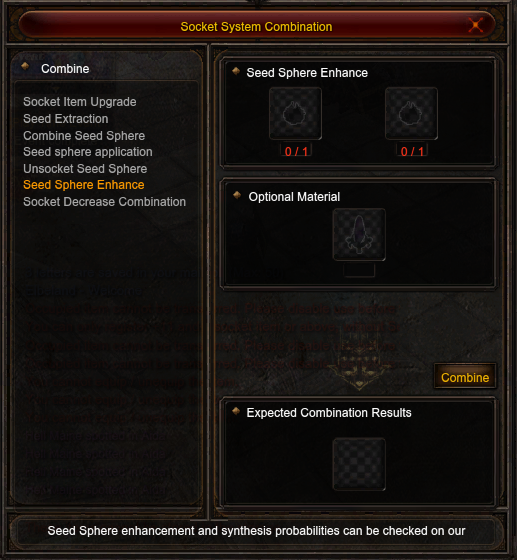
A higher-level sphere gives a stronger version of the same option. Under Seed Sphere Enhance you feed in two spheres of the same level and get one of the next level back:
| You put in | Plus | You get | Success | Cost |
|---|---|---|---|---|
| 2× Seed Sphere Level 1 | 4×  Sphere Upgrade Rune Sphere Upgrade Rune | 1× Level 2 | 90% | 10,000,000 Zen |
| 2× Seed Sphere Level 2 | 5× Sphere Upgrade Rune | 1× Level 3 | 89% | 13,000,000 Zen |
| 2× Seed Sphere Level 3 | 5× Sphere Upgrade Rune | 1× Level 4 | 89% | 16,000,000 Zen |
| 2× Seed Sphere Level 4 | 5× Sphere Upgrade Rune | 1× Level 5 | 89% | 19,000,000 Zen |
Element combinations — the extra bonus
Here is the part most players miss. If the spheres on a single item form the right combination of elements, the item gains an extra bonus on top of the individual options:
| Elements on the item | Extra bonus | Value | Chance |
|---|---|---|---|
| FireIceLightning | Increases Attack | +11 → +55 | 30% |
| FireIceLightning | Increase Skill Damage | +11 → +55 | 30% |
| FireIceLightning | Increases Attack Power and Magical Damage | +5 → +25 | 30% |
| EarthWaterWind | Increases Defense | +24 → +36 | 30% |
| EarthWaterWind | Increases MAX Life | +29 → +37 | 30% |
Special options
The rarest rewards in the system. They need a specific spread of elements mounted at once, which in practice means a five-socket item and a lot of preparation:
Worth knowing
- Nothing is permanent. Spheres come back out with their level intact, so you can rebuild an item for a new build whenever you like.
- Empty slots are free. There is no penalty for carrying an unfilled socket item — fill the slots as you can afford them.
- The option is random within the element. You choose the element, not the exact option, so expect to re-roll a few times for the one you want.
- Plan the combination first. Decide which bonus you are aiming for, then buy spheres to match — it is far cheaper than fixing it afterwards.