
Install
This guide takes you from the downloaded installer all the way to your first steps in game. If you don’t have the file yet, grab it from the Download guide first.
Program Files — Windows blocks updates written there. A simple path like D:\Games\ avoids permission problems entirely.Installing the client
Run the installer
Open the file you downloaded — it is a single application named something like ServerName Client Installer.exe (around 1.7 GB). Double-click it to start Setup. If Windows asks for permission, confirm it.

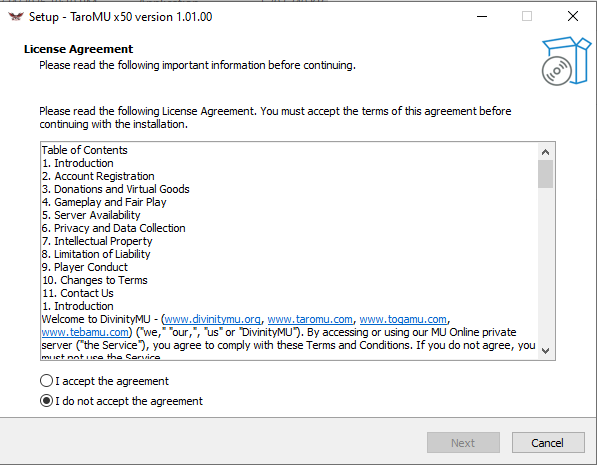
Accept the license agreement
Read the terms, then select I accept the agreement and press Next. The option is set to “do not accept” by default, so Next stays greyed out until you switch it.
Read the setup notes
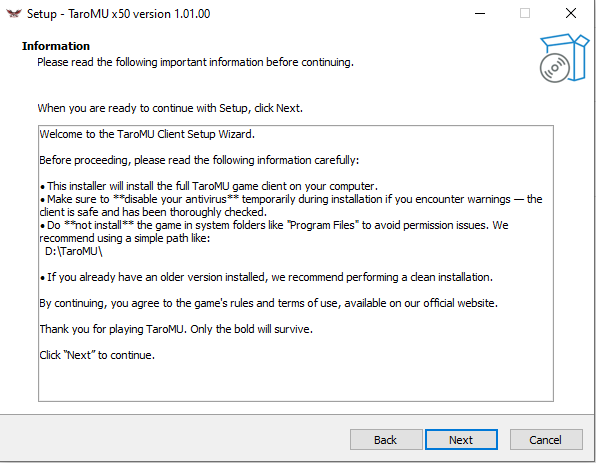
Setup shows a short list of recommendations: keep your antivirus off during installation, avoid system folders such as Program Files, and do a clean installation if you already have an older version. Press Next when you’re ready.
Choose where to install
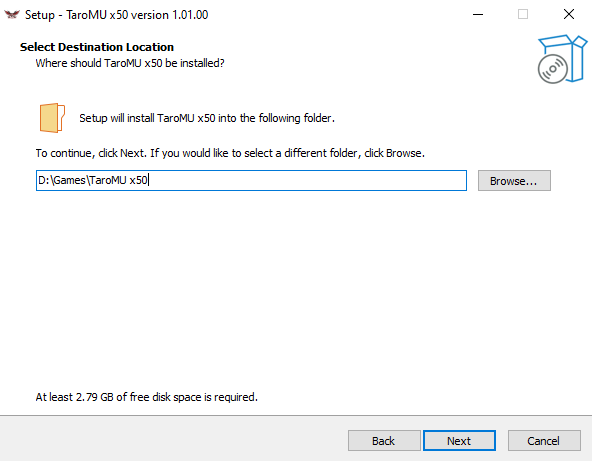
Pick the folder the game will live in — the default is fine, for example D:\Games\TaroMU x50. Use Browse… to change it. Make sure the drive has the free space Setup asks for (about 2.79 GB), then press Next.
Pick the extra options
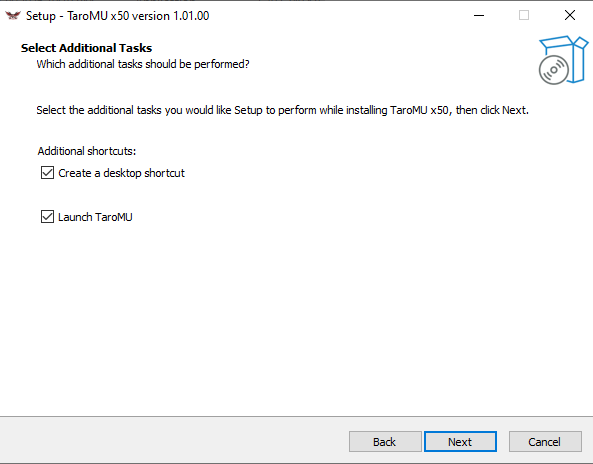
Choose whether Setup should create a desktop shortcut and launch the game when it finishes. Both are ticked by default — leave them on and press Next.
Review and install
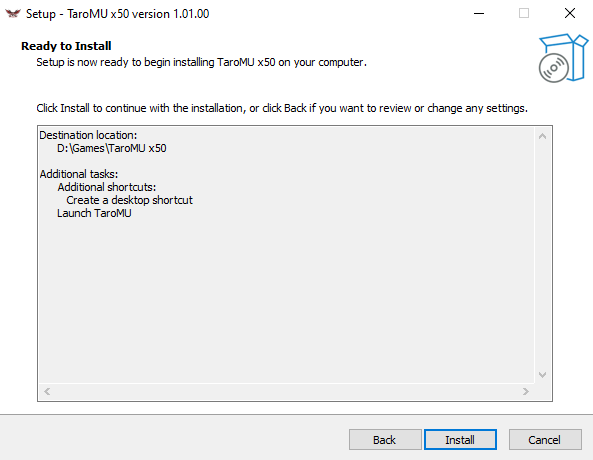
Setup summarises your choices: the destination folder and the extra tasks. If everything looks right, press Install. Use Back if you want to change something first.
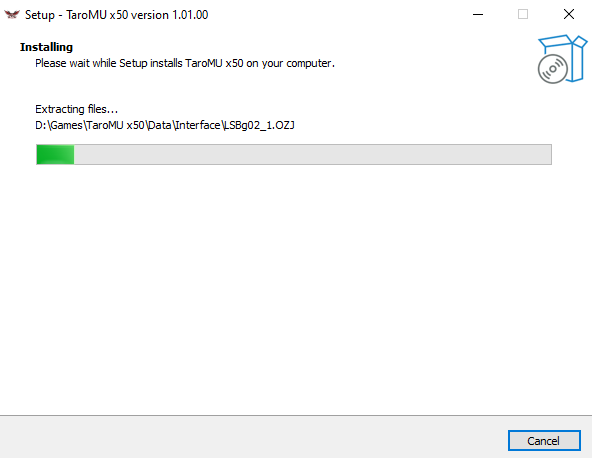
Wait for the files to extract
The installer now copies the game files to your folder. This takes a few minutes depending on your drive — leave it running and don’t close the window.
Read the final notes
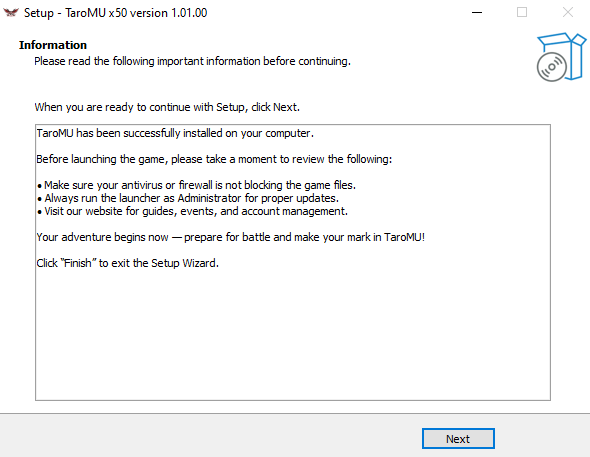
When the copying is done, Setup shows the post-install reminders: make sure your antivirus or firewall isn’t blocking the game files, and always run the launcher as Administrator so it can update itself. Press Next.
Finish the setup
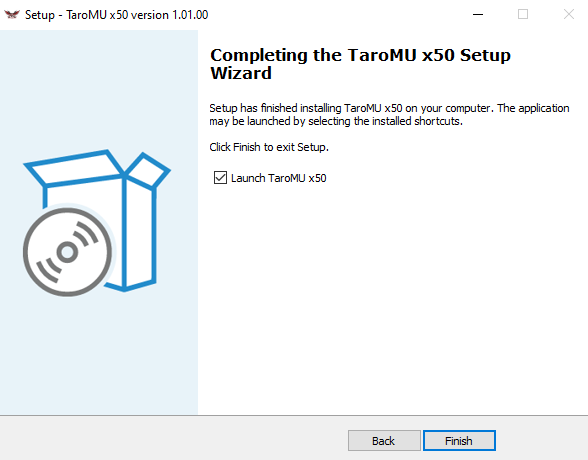
Leave Launch ticked and press Finish. The wizard closes and the launcher opens automatically.
First launch
Let the launcher update
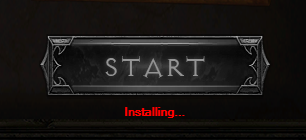
On the first run the launcher downloads the latest game files. You’ll see Installing… under the START button — wait until it finishes.
Press START
When the progress bars fill up and the button turns blue with Press GameStart to Play underneath, the client is up to date. Press START to launch the game.

Choose your server
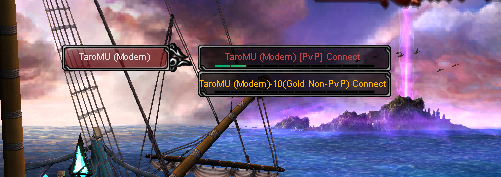
The server list appears. Pick the channel you want to play on — the regular [PvP] server, or a Gold / Non-PvP channel if one is available. Click Connect.
Log in
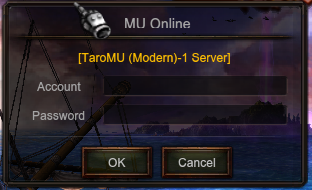
Enter the Account and Password you created on the website and press OK. Don’t have an account yet? Follow the Register guide.
Your first character
Create a character
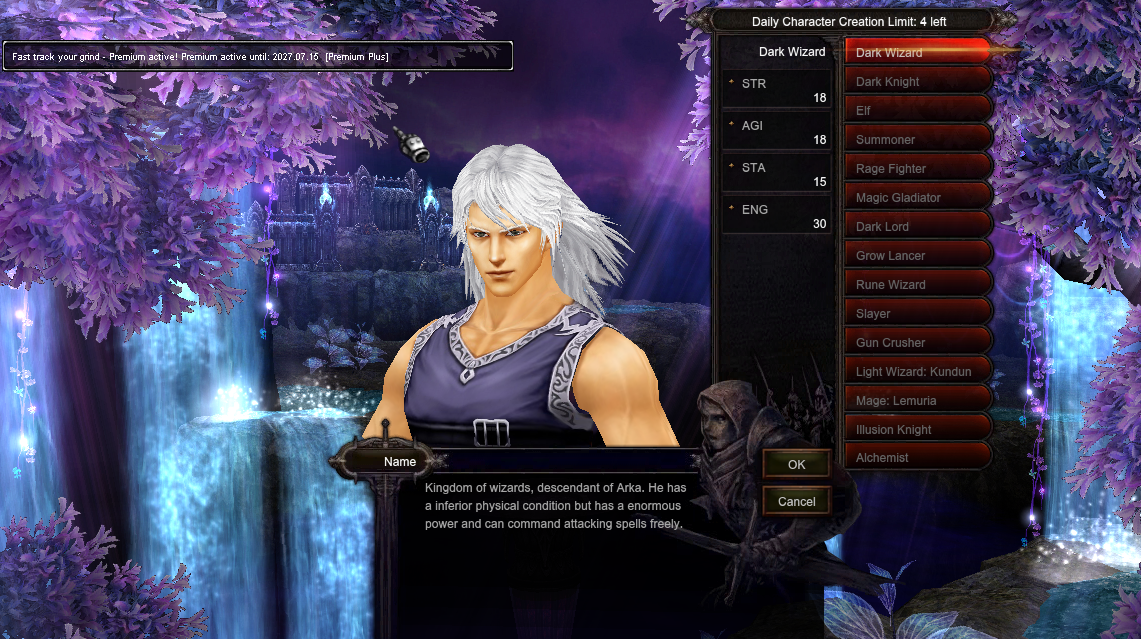
Pick a class from the list on the right — each one shows its starting stats and a short description. Type a Name and press OK. Note the daily character creation limit shown at the top.
Enter the world
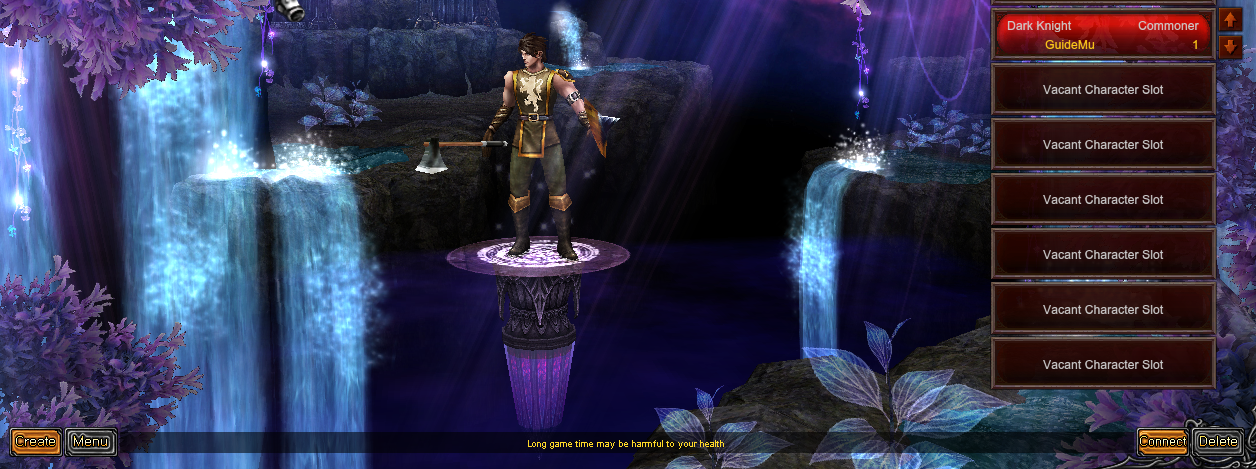
Your character now appears in the selection screen. Select it and press Connect to enter the game. You can create more characters later with the Create button.
Start your adventure
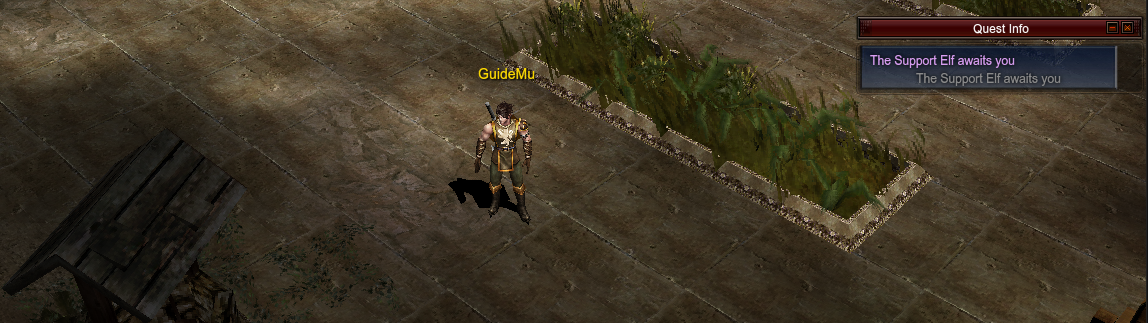
You spawn in the starting town with your first quest waiting — follow the Quest Info panel and talk to the NPC it points you to. From here on, the world is yours.
If something goes wrong
- The launcher won’t update — run it as Administrator, and make sure the game isn’t installed under
Program Files. - Antivirus removed a file — restore it from quarantine and add the game folder to your antivirus exclusions, then reinstall if files are missing.
- The game closes on startup — install the latest DirectX and Visual C++ runtimes, and update your graphics drivers.
- Wrong password — log in on the website first to confirm your credentials; the game uses the same account.